

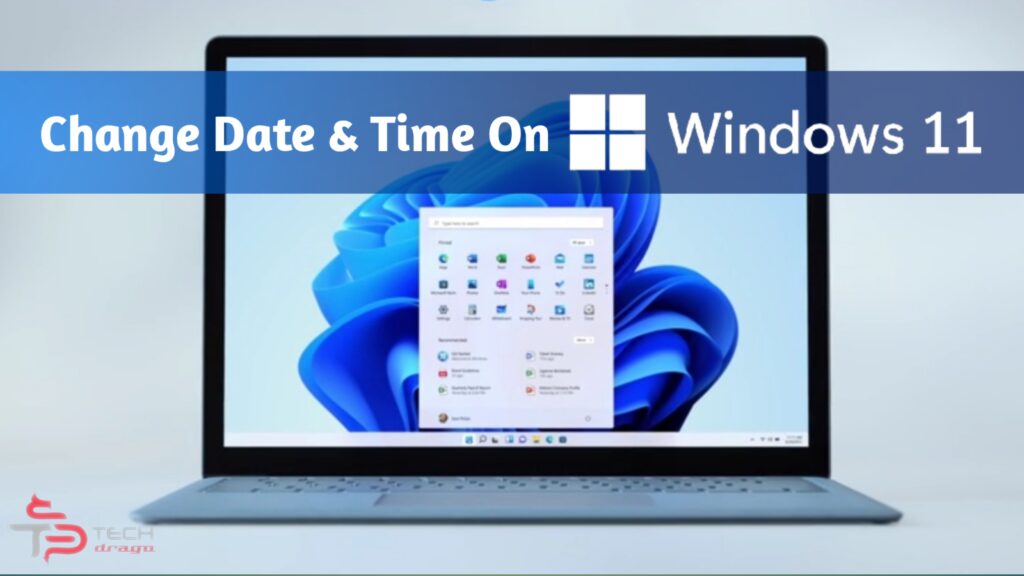
Since Microsoft unveiled Windows 11 for their users, people are excited to use it, because Windows 11 brings new UI changes new features and a new user interface. Additionally, Windows 11 looks different from all previous versions of Windows. There are lots of queries regarding the new update that users asking like “How to change date and time on Windows 11?”.
If your system’s date and time are incorrect things could go wrong. Usually Windows 11 sync system time and date via the internet. But if you don’t have an Internet connection you might get the wrong time and date.
Here is the answer to a common question asked by users “How to change the date and time on Windows 11?”. It’s a common problem users-facing.
The best way to solve this problem is you need to manually set the date.
Steps to Change Date and Time On Windows 11.
If you have installed windows 11 and not getting the proper time and date, Then here are pretty simple steps to correct the date and time. Follow the steps.
Step 1. Firstly, click on the Start button and click on the ‘Settings‘ icon. Alternatively, you can press Windows Key + I button to open the Settings directly.

Step 2. On the Settings page, click on the ‘Time & Language’ option.

Step 3. On the right pane, click on the ‘Date & Time’ option.

Also Read: How to Install Windows 11? Five Simple Steps.
Step 4. On the next page, enable the option ‘Set time automatically’.

Step 5. Now click on the ‘Change‘ button behind the ‘Set the date and time manually‘ option. To manually change the date & time, you first need to disable the option in Step 4.

Step 6. Set the date & time on the next window and click on the ‘Change‘ button.

Step 7. Now move back to the previous page, and set the time zone for your region as well.
Step 8. Now scroll down and click on the ‘Sync now’ button on the Additional Settings.

That’s it! You are done. This is how you can change the time & date on Windows 11.
For more tips and tricks of PC and Smart gadgets, stay connected with us by subscribing to our Newsletter.